Welcome to WordPress. This is your first post. Edit or delete it, then start writing!
Author: Aryan
Aryan is an editor and TechKnow Geek at Club TechKnowHow! He loves sharing cool stuff about tech and code in a way that's easy to understand and apply. Connect with him on LinkedIn & Instagram for updates and fun techie chats.š

Ubuntu is a Linux distribution based on Debian and composed mostly of free and open-source software. Ubuntu is officially released in three editions: Desktop, Server, and Core for Internet of things devices and robots. All the editions can run on the computer alone, or in a virtual machine.’
Ubuntu is released every six months, with long-term support (LTS) releases every two years. As of 21Ā AprilĀ 2022, the most recent long-term support release is 22.04 (“Jammy Jellyfish”).
Configuring Ubuntu Virtual Machines on Windows 11 Hyper-V is very easy and quick. The Hyper-V offers Virtual Machine Gallery from where we can download the VM.
This requires a good internet connection as the VM size is approx. 2.4-2/5GB.
Step 1: Invoke Hyper-V Manager
Login to Windows 11 as Administrator user.
A normal user cannot see āadministrative toolsā menu. You need to search for the āHyper-V Managerā MMC Snippet and āRun As Administratorā by right clicking it.
You will see the Hyper-V Manager as below.

Step 2: Select Hyper V Node & Click “Quick Create”
On the left hand side Tree Pane, select the Hyper V Node. Right Click

Step 3: Virtual Machine Gallery Dialog will be opened
Select the “Ubuntu 22.04TLS” from the List.

Here, you can click on “More Options” to choose Virtual Machine Settings and the Name of the “Virtual Machine”. You can change the settings later also.
Click “Create Virtual Machine” will create a Virtual Machine and Download the Image from Ubuntu.

If you have a good internet connection this will be quicker.

Step 4: The Virtual Machine is ready
You will see the below dialog

Step 5: Some important points – weird observations
The Newly Created Virtual Machine from Gallery – the Wizard does not offer us to choose no of Processors and “By-Default” assigns HALF of the Cores on your node.
Select Virtual Machine, and Right Click Settings: and review all hardware configuration.

I had 20 cores to my PC and hence the QuickCreate assigned 10 Core to the new VM. You may want to change that.
Step 6: Review Boot Sequence once
Ensure that the HDD is selected as first Boot Sequence

Step 7: Start & Connect the Virtual Machine


Follow the On-Screen Process to setup Ubuntu.


Configure your PC Name and Root User Password


Note- Keep the Network Switch as – Default Network Switch so that the newly created Virtual Machine has access to Internet and you can download and install tools like IFCONFIG as NETTOOLS are not included by-default.

You can open “Terminal” and Run following command
sudo apt-get install -y net-tools

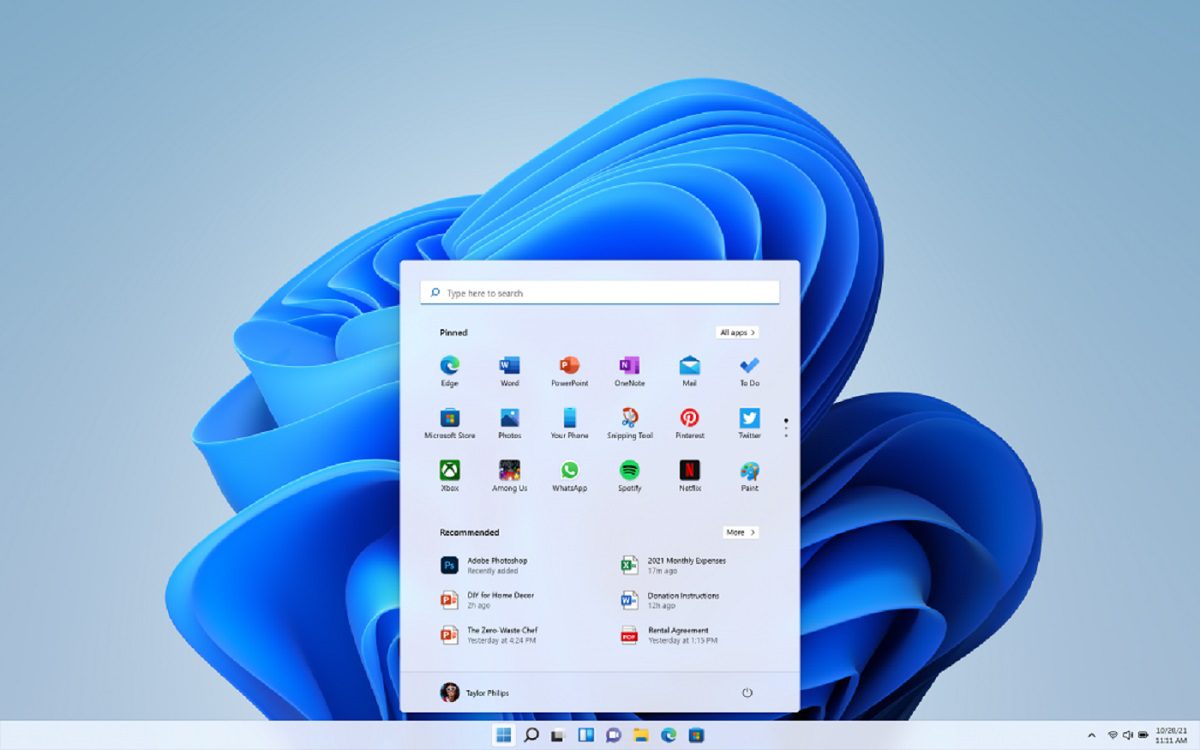
Windows 11 is the latest major release of Microsoft‘s Windows NT operating system, released in October 2021. It is a free upgrade to its predecessor, Windows 10 (2015), available for any Windows 10 devices that meet the new Windows 11 system requirements.
The basic system requirements of Windows 11 differ significantly from Windows 10. Windows 11 only supports 64-bit systems such as those using an x86-64 or ARM64 processor; IA-32 processors are no longer supported.
Step 1: Invoke Hyper-V Manager
Login to Windows 11 as Administrator user.
A normal user cannot see the āadministrative toolsā menu. You need to search for the āHyper-V Managerā MMC Snippet and āRun As Administratorā by right clicking it.
Step 2: Select Hyper V Node, Click āNewā, then click on āVirtual Machineā
Once you select virtual machine the ānew virtual machine wizardā would open up like so.
Click on next and then name your virtual machine.
Generation 1 Virtual Machines support both 32-bit and 64-bit operating systems.
However Windows 11 supports only 64-bit systems, so we would choose Generation 2.
Note : The generation of the virtual machine cannot be changed later on.
The default initial assigned startup memory would be 1024 MB, change that to 4096 MB, and click on next.
By default the network adapter is set to ānot connectedā; change the setting to āDefault Switchā.
Here we have the option of connecting a virtual hard disk. If you have a pre-existing virtual hard disc you can choose the second option and specify its location. If you do not have a pre-existing virtual hard disc you can create a virtual hard disc. Simply specify its name, location and size.
Select ‘Install an operating system from a bootable image file‘ and select the path of the image copy of windows 11 which you might already have installed on your computer.
Click on finish to complete the VM setup.
Step 3: Changing the Settings of our Virtual Machine
Now right-click the virtual machine and click on settings. By default only 1 virtual processor is allocated for the virtual machine. You may increase it to whatever suits your needs. My PC has 20 virtual processors, so I allocated 4 to this VM.
Click on Apply; then in the menu on the left side click on Security.Ā In theĀ Encryption SupportĀ check the first checkbox.
If this step is skipped, windows cannot be installed on your VM. You will get an error like this.
Step 4: Windows 11 setup on Virtual Machine
Right-click the VM and click on connect, as shown below.
Once you click on connect, you will need to start your VM.
Based on your preferences select the options and click next.
Click on Install Now to install Windows 11.
Enter your own Product Key and click on Next or skip this step entirely by clicking on I don’t have a product key.
Tick the checkbox and click Next.
Once you click Next you will have 2 choices for the installation. One of them would be default and the other would be custom. Select custom for more control over the installation process.
Click Next.
Once the installation is complete, your virtual machine will restart. After restarting the windows 11 setup begins.
Step 5: Setting up Windows 11
Select your country and click yes.
Select the keyboard layout/preferred input method.
Add a second keyboard layout if you want to, or you can skip this step entirely by clickingĀ skip.
Name your device. You don’t need the same name for this and the virtual machine, I just did it for the sake of convenience.
Choose the preferred option and proceed.
Add your Microsoft account by signing in.
After signing in to your Microsoft account, you will get the option to restore the files backed up over Onedrive, settings & preferences and your apps which you had on a previous device with your Microsoft account set up. Click on view more options.
I selected the Set up as new deviceĀ option, but you can choose other available options also.
Set up a pin for this machine.
Choose the privacy settings. I unchecked all of them, but you can uncheck as many or as little as you like.
Here Windows allows you to backup the files on this virtual machine using OneDrive so that you can access them from other devices also. If you do not want to back up the files you can click Only save files to this PC.
It will take a few minutes to get everything ready.
Once windows 11 loads you can choose the size of the desktop by dragging the slider.
And there you have it we have successfully, created a virtual machine on Hyper-V with Windows 11 on it!


Quisque dapibus, velit eget ullamcorper suscipit, sapien ligula hendrerit lectus, vitae tristique sapien velit ac lectus. Mauris ullamcorper nisi sit amet est vestibulum interdum. Integer venenatis rutrum ipsum. Pellentesque sollicitudin turpis eu nibh ornare, eu pretium risus pharetra.
Est egestas, non facilisis nisl mattis. Nunc a fermentum tortor. Nulla vehicula nunc tortor,Ā eu sagittis duiĀ dictum a. Integer erat urna, gravida eu cursus non, posuere nec quam.
1. Nullam sit amet orci turpis.
Cras congue mi sit amet ullamcorper dapibus. Vestibulum pulvinar rutrum odio, et mollis elit blandit sit amet.
Suspendisse semper
- elit eu volutpat tincidunt
- ante augue sodales justo
- auctor mattis mi dui at elit
- duis vel porttitor tellus
2. Aenean vestibulum volutpat est ut vestibulum.
Pellentesque mauris ante, elementum sed arcu id, tincidunt venenatis neque. Aliquam consectetur magna ut adipiscing molestie.
- Phasellus faucibus pretium odio.
- Ut ut lacus est.
- Nam consectetur nulla eget nibh auctor fermentum.
- AeneanĀ feugiat semper arcu
id suscipit enim fermentum et. Curabitur tellus neque, eleifend et turpis dictum, lacinia porta nibh.
Nulla sed tincidunt felis.
3. Phasellus malesuada sed metus nec tristique
Duis semper, eros nec aliquet lacinia, tortor erat interdum dui, non vestibulum massa odio et dui. Pellentesque in nibh libero. Sed at velit fermentum, porttitor nisi eu, condimentum orci.
Sit amet risus cursus, nec lobortis magna aliquam. FusceĀ in mauris neque. Etiam vitae felis mauris. Vestibulum eu odio at velit varius hendrerit tempus vel libero. Vivamus ultricies sapien sed posuere scelerisque. Aliquam mattis eros et semper laoreet.
Donec eget consequat sem
Cras congue ac orci quis consequat. Sed purus libero, volutpat non facilisis et, adipiscing sed lacus. Vestibulum aliquam porta quam, vel varius tortor eleifend eu.
Donec at erat et sem bibendum hendrerit
Vestibulum turpis augue, rhoncus a laoreet sed, vestibulum a nunc. Integer id tempor elit, sed commodo est. SedĀ sollicitudin nibh faucibus, vulputate turpis at, imperdiet mi.
Ut venenatis mauris vel consectetur convallis. Donec scelerisque at eros eu convallis. Nulla consequat ut eros et auctor. Fusce semper pretium massa sit amet mollis. Proin sit amet condimentum nulla, vitae cursus est.
Sed venenatis nisi vitae turpis dictum sollicitudin. Nunc quis metus porttitor neque luctus ultricies.